Files
The List Files screen includes all files associated with the selected application. Any files the applicant has uploaded through the front-end portal are also included in the List Files screen.
In addition, some screens within the selected application include a Files tab specific to the screen. These files are also displayed on the List Files screen for the selected application.
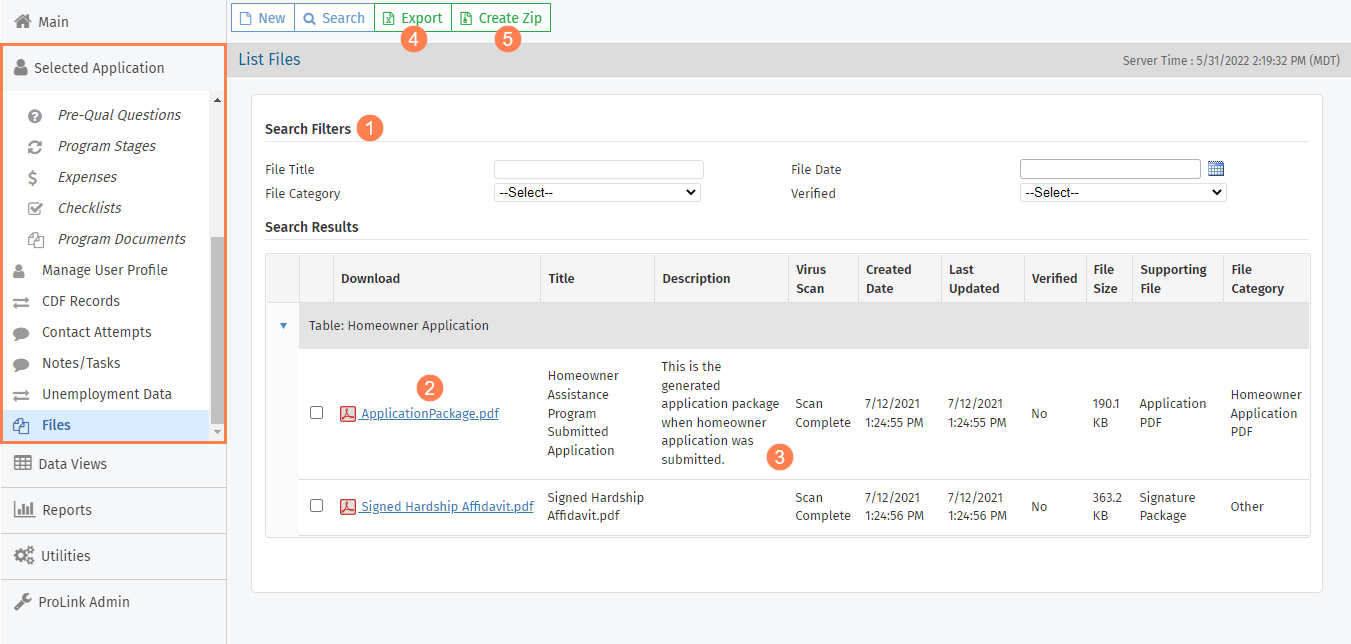
You can search the files by title, category, date uploaded, and verification status. Enter/select the Search Filters and then click Search in the top toolbar.
To download a file, click the file name hyperlink in the Download column.
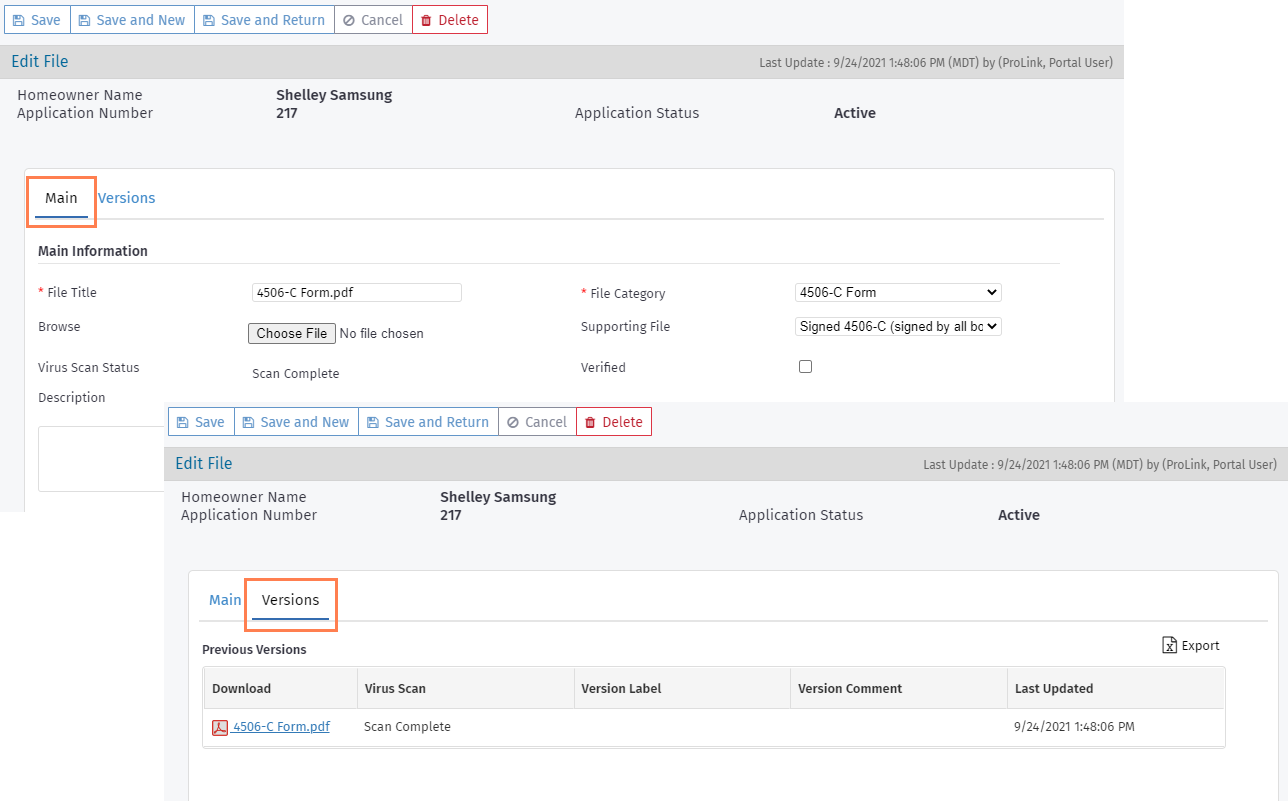
To view or edit the file's attributes or to upload a new version, click the row to open the Edit File screen.
Note
Virus scanning is determined by configuration settings in the ProLink Admin panel.
Click Export to download a Microsoft Excel file containing the Search Results grid data.
Click Create Zip to download a .zip file containing all files in the Search Results grid.
Add a File
Click New from the List Files screen or Add File from the Files tab. The Edit File screen opens.
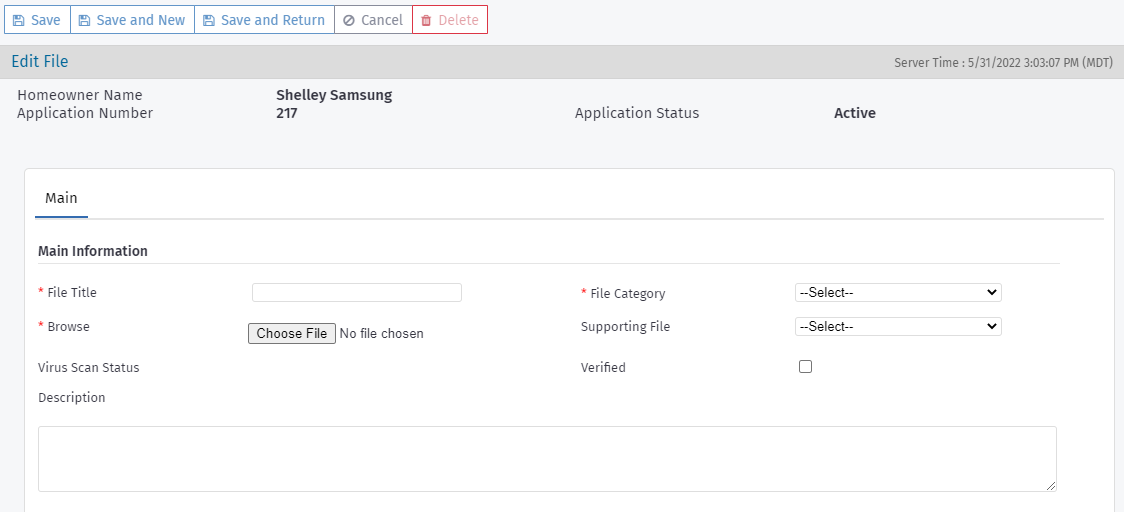
Assign a name to the file by updating the File Title field.
Select a category in the File Category list. This selection groups the file with other similar files.
Locate the file by clicking Choose File and selecting the file.
Optionally, select the Supporting File type. This selection is how the system determines whether a required supporting file has been uploaded to the application. When all required supporting files have been uploaded, the application can be submitted.
Optionally, select the Verified checkbox to indicate agency staff has reviewed the file. See Verify a File for more information.
Optionally, add a Description of the file.
Select a save option in the top toolbar.
Note
If you have the appropriate security privileges, you can delete a file.
Verify a File
The system administrator or program manager might have configured some file types to require verification by agency staff. To verify a file, navigate to the Edit File screen, and select the Verify checkbox on the Main tab. Be sure to save the file record.
Tip
Files that have been uploaded and are unverified for required file types show a red file icon on the My Queue screen for applications in Stages 2–5.
Signature Package Files
When the homeowner signs and submits the application, the system saves the signature package to the application's Files. ProLink can configure the system to upload each document in the DocuSign signature package separately. If the name of a file is "Signed Third Party Authorization," then the system sets the File Category to "Executed Authorization Form" for the file and the File Category to "Other" for all other files in the package.
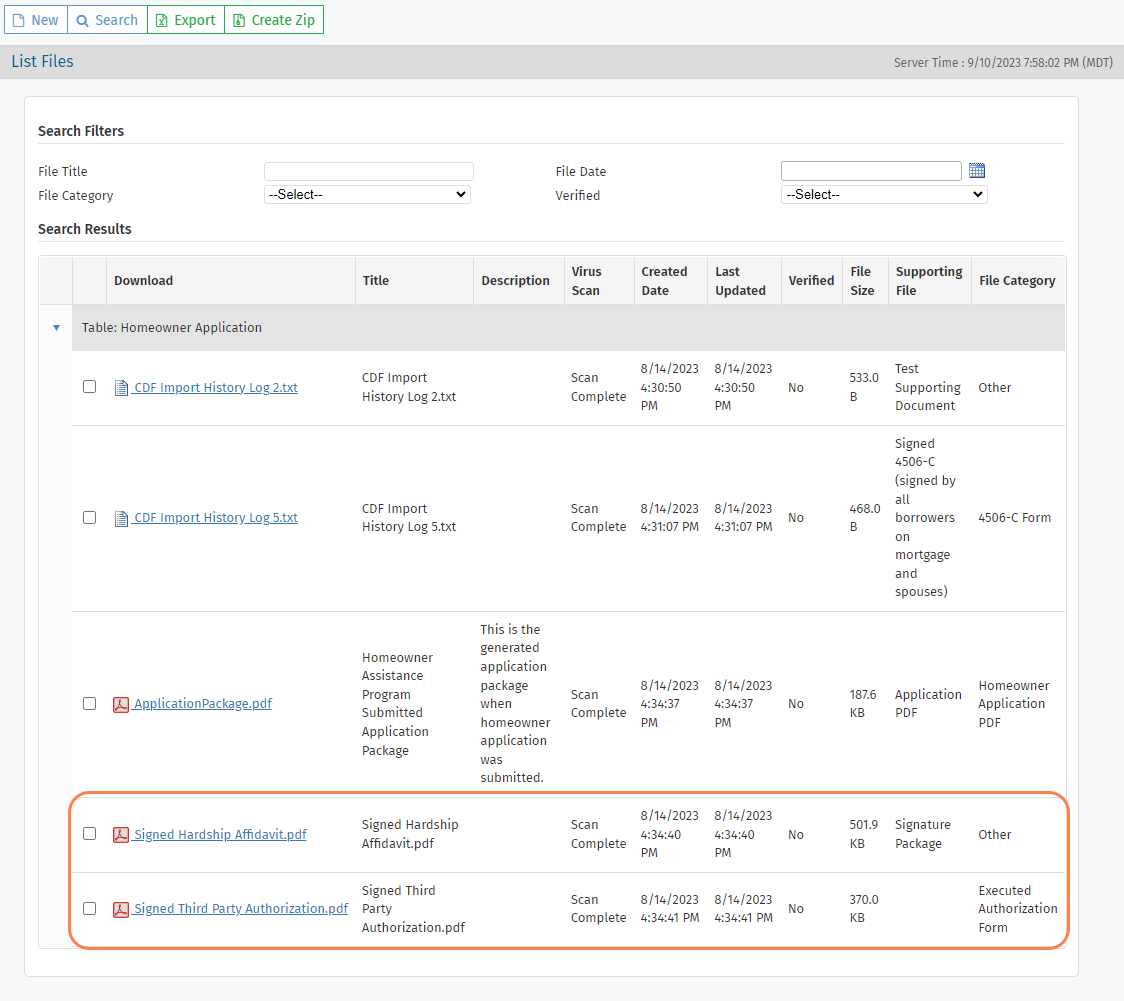
As a result, the agency can more easily associate the third party authorization form (executed authorization form) to the mortgage for the CDF export process. See Export Executed Authorization Forms with CDF I Records for more information. Please reach out to ProLink Support to configure the DocuSign package if you are interested in this functionality.