Users
This information is for system administrators who are responsible for maintaining users in ProLink+.
The Users functionality allows for the management of all users in the system, including Agency staff and Agency partners. You need to create a User record in order for the user to have access to the system. After you create the User record, you will need to provide the user with their login information. We recommend users change their password upon initial access.
ProLink can work with your agency to configure single sign-on (SSO) for users. With this authentication method, users are able to access ProLink+ using their agency credentials.
If your agency has Single Sign-On (SSO) enabled, you still need to create the users in ProLink+. However, users can disregard the system-generated password emails because authentication uses the agency's internal Active Directory system.
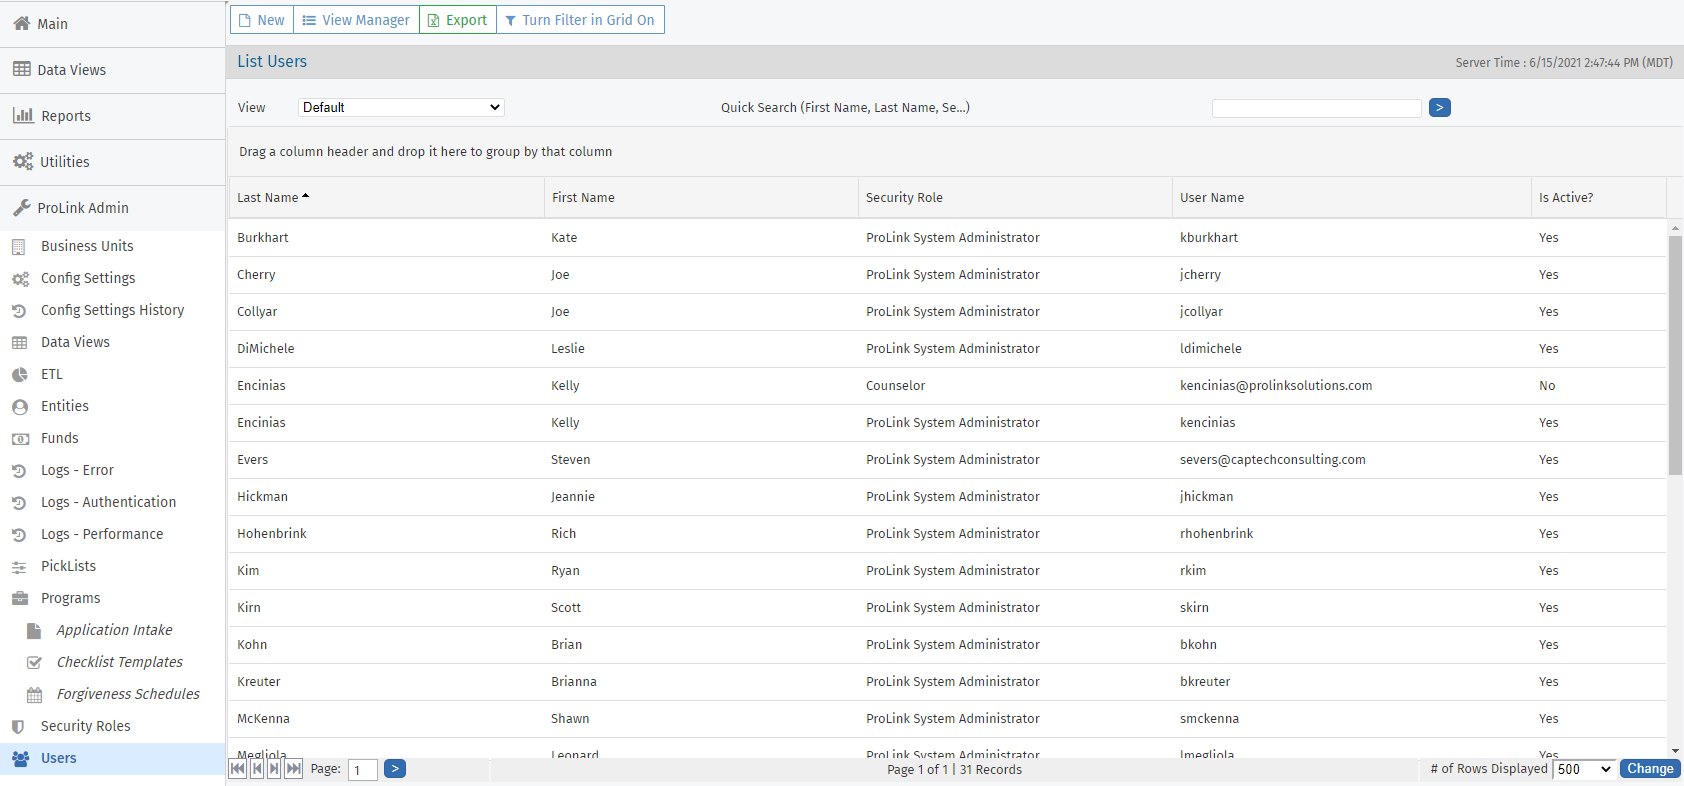
The Users screen displays a list of all ProLink+ users and information about each user, such as name, security role, and if the account is active. You can search for users, add new users to the system, and edit existing users. You can also export the user information contained in the grid.
Navigate to the ProLink Admin menu, and then select Users in the left navigation panel. The List Users screen opens.
The screen is a data view screen, which means you can filter, sort, search, and create custom views, like with other data views.
Tip
Using Quick Search, search for a user by first or last name.
Click a row to open the User record and view its details.
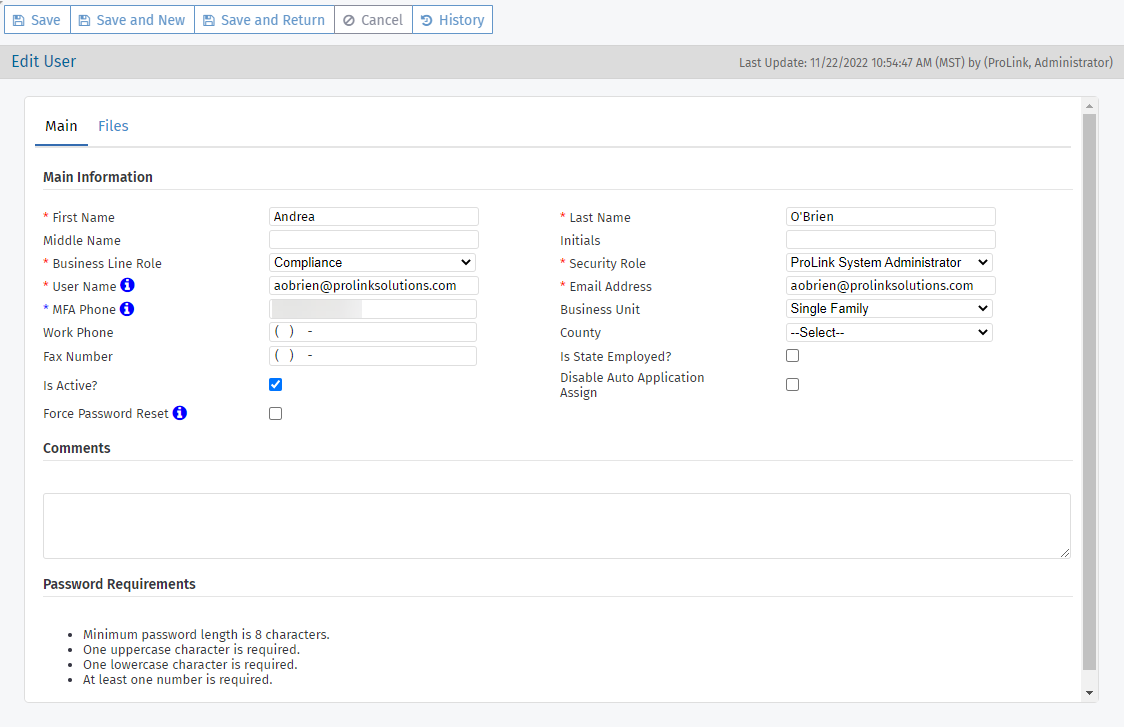
Field | Definition |
|---|---|
Business Line Role | Used for auto application assignments. See Systematic Application Assignments for more information about auto application assignments. |
Security Role | Dictates what the user can and cannot see, as well as what functions the user can and cannot perform. See Security Roles for more information. CautionKeep in mind that the privileges for the security role provide access to the corresponding functional areas for every user assigned the role. |
User Name | Must be the user's email address. Must be unique. If you update a user's username, their profile is deleted from the customer identity and access management service and a new one is created. The system sends an email to the user with a link and authorization code (for MFA); clicking the link directs the user to the Reset Password screen. Alternatively, the user can go to the Forgot Password screen. |
Email Address | The email is used for system notifications, such as emails about past due checklist items. |
MFA Phone Number | The user's mobile phone number, which is required for Multi-Factor Authentication. |
Business Unit | Not required. You can specify the agency group or team that the user belongs to. |
Is State Employed | Indicates the user is employed by the state agency. |
Is Active | A user record cannot be deleted but can be listed as either Active or Inactive. |
Disable Auto Application Assign | When this checkbox is selected, the Application Assignment Engine skips the user in the (re)assignment of applications. |
Force Password Reset | If MFA is enabled, when this checkbox is selected, the user must reset their password upon next login. The user receives an email with authorization code; clicking the link in the email directs the user to the Reset Password screen. If they are currently logged in, the system logs them out and sends an email with an authorization code. If MFA is not enabled, when this checkbox is selected, the user must reset their password upon next login. The user receives an email; clicking the link in the email directs the user to the Resent Password screen. If they are currently logged in, the system logs them out and sends an email. |
Tip
You can view the Password Requirements for users at the bottom of the screen.
About Multi-Factor Authentication
ProLink+ supports multi-factor authentication (MFA) of Agency Portal users. Your agency will need to work with ProLink to enable MFA. In addition, a system administrator will need to add an MFA phone number to each user's profile.
When the user logs in, they will receive an SMS message with a verification code at the MFA phone number. The user needs to enter the verification code with their username and password to log in.
If a user does not have an MFA phone number on their profile, the system displays an error and they will not be able to log in.
Navigate to the Admin menu, and then select Users in the left navigation panel.
The Users (list) screen opens.
Search for the user, and verify the user is not established in the application.
Click New in the top toolbar.
The Edit User screen opens.
Complete the required fields and any optional fields needed.
Click Save.
Because the user might have activity (and history) in the system, you should not delete a User record. You can inactivate the user. When you inactivate a user, the user cannot log into the system, no longer receives emails, and does not appear in search results, such as when adding an assigned user or selecting users for workflow emails.
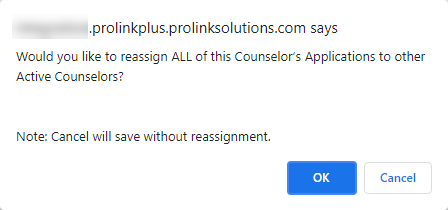
When an user with a Business Line Role of Intake Clerk, Counselor, Underwriter, or Closer is inactivated, the system checks whether you want to reassign all of their applications to other active users.
See Systematic Application Assignments for more information about auto application assignments.
Navigate to the Admin menu, and then select Users in the left navigation panel.
The Users (list) screen opens.
Click a row to open the User record and view its details.
The Edit User screen opens.
Clear the Active checkbox on the Main tab.
Click Save.
If the user was an Intake Clerk, Counselor, Underwriter, or Closer, the reassignment popup opens. Click OK to reassign the user's applications to other active users or click Cancel to skip reassignment.